Air to Air Photography
Flying with the Battle of Britain Memorial Flight
|
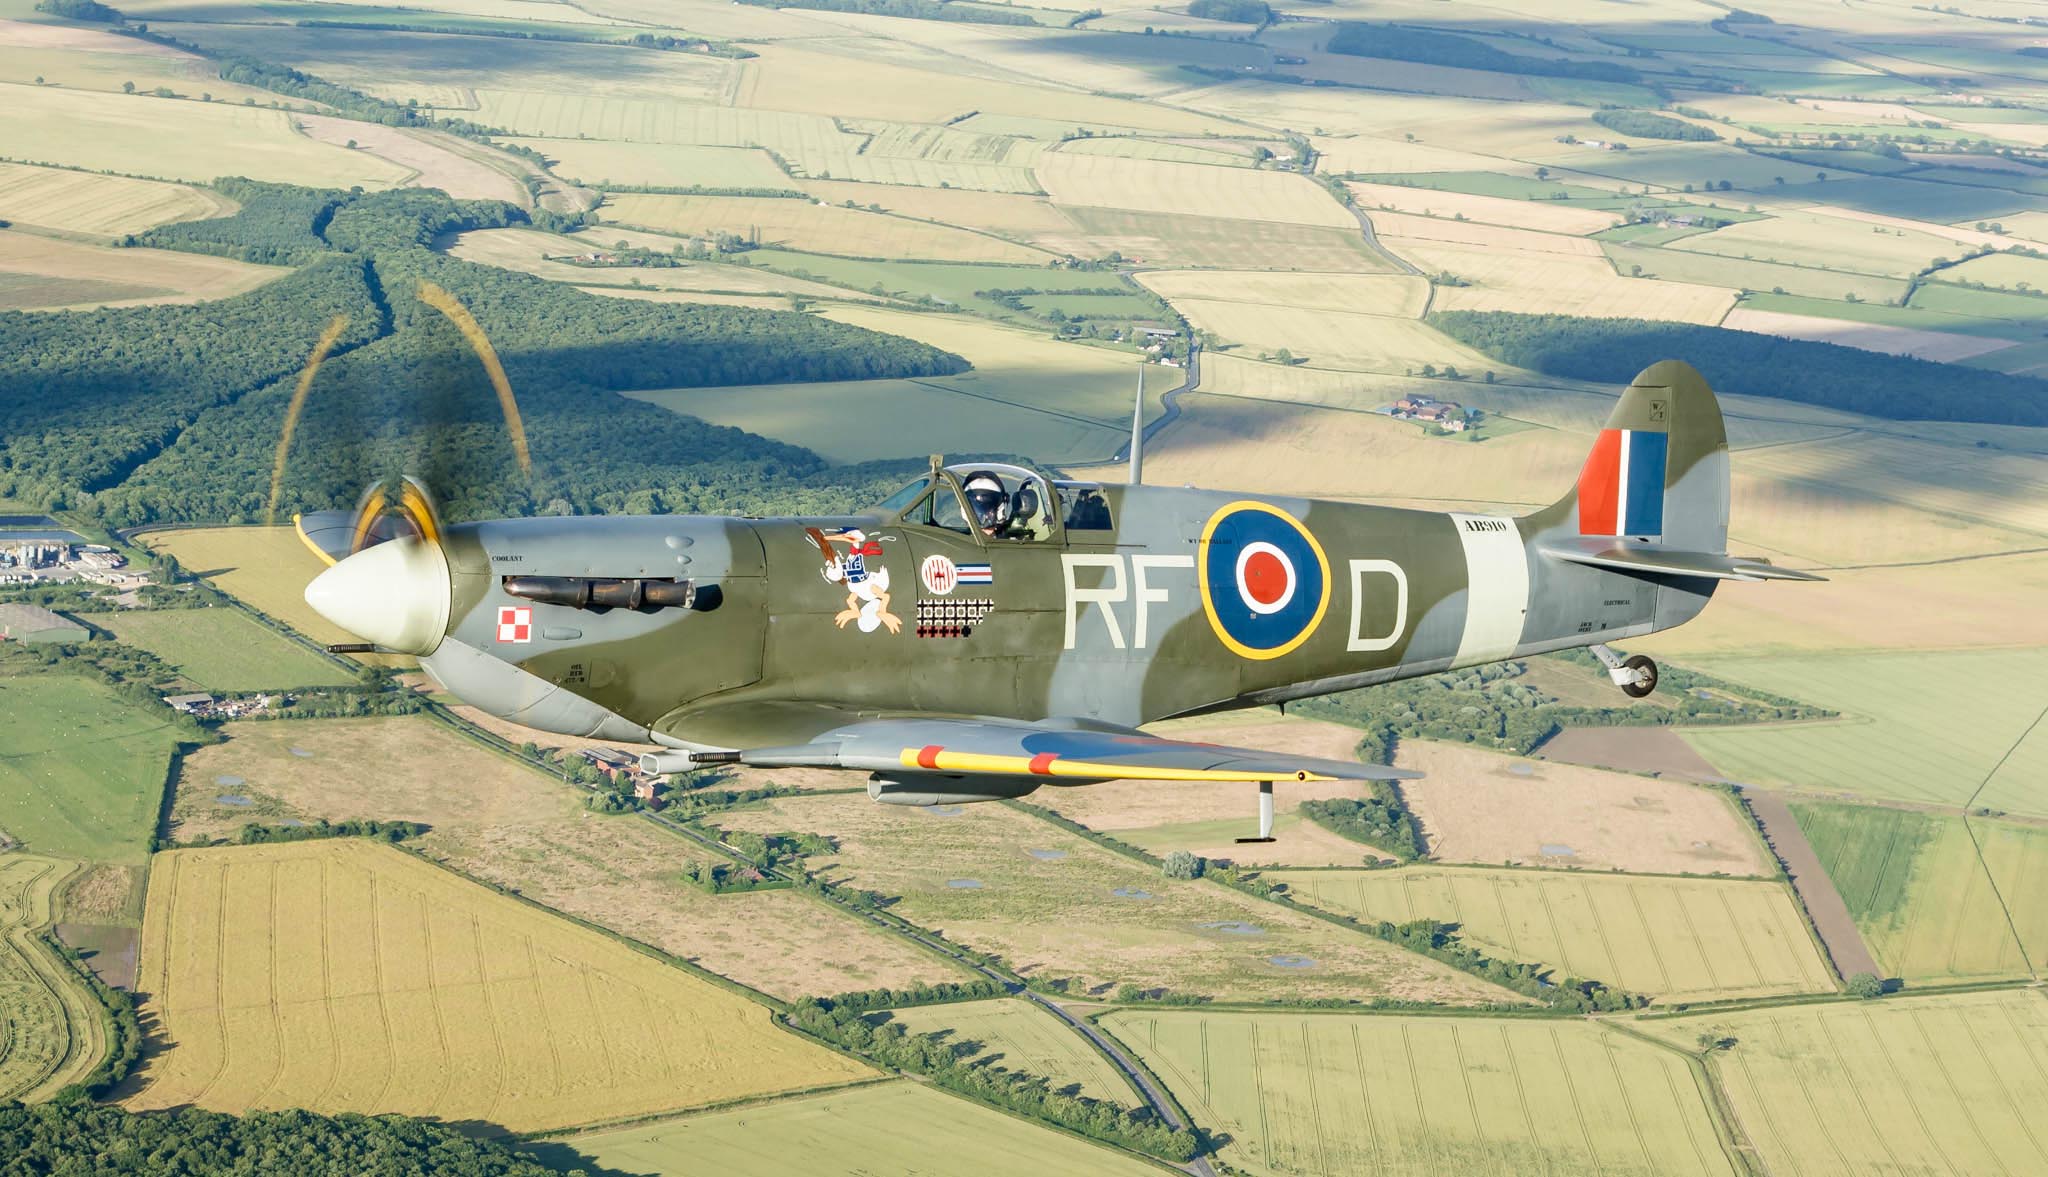
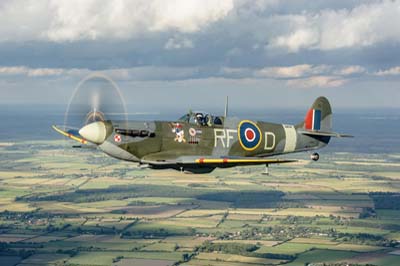
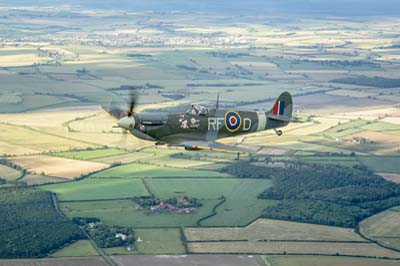
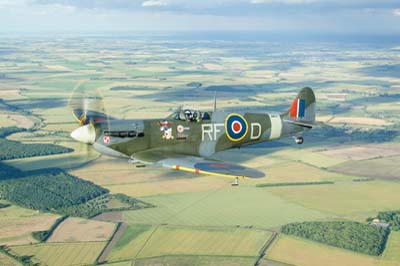
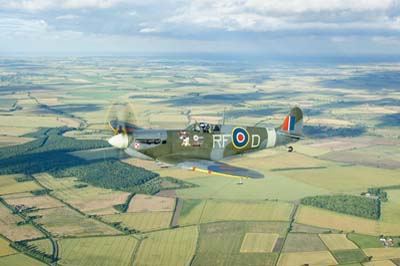
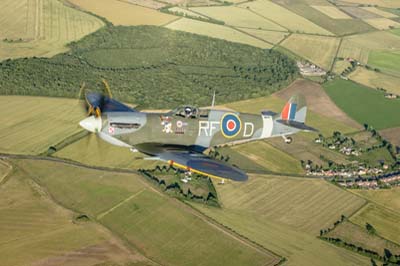
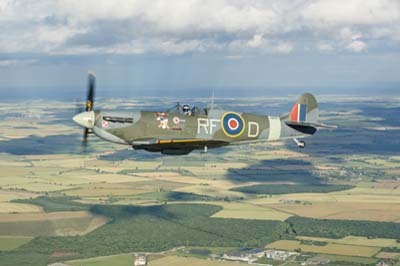
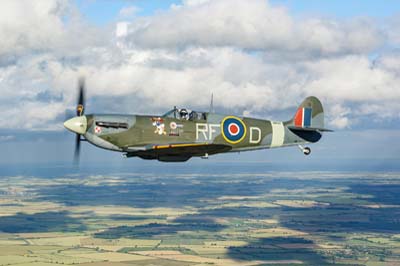
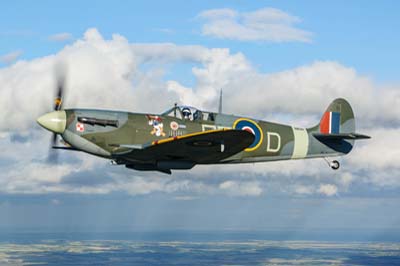
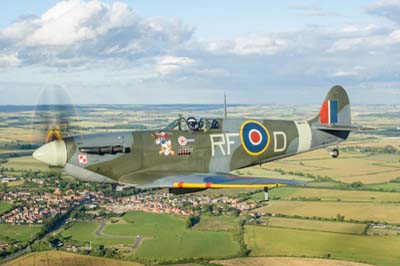
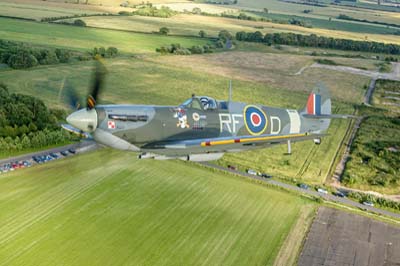
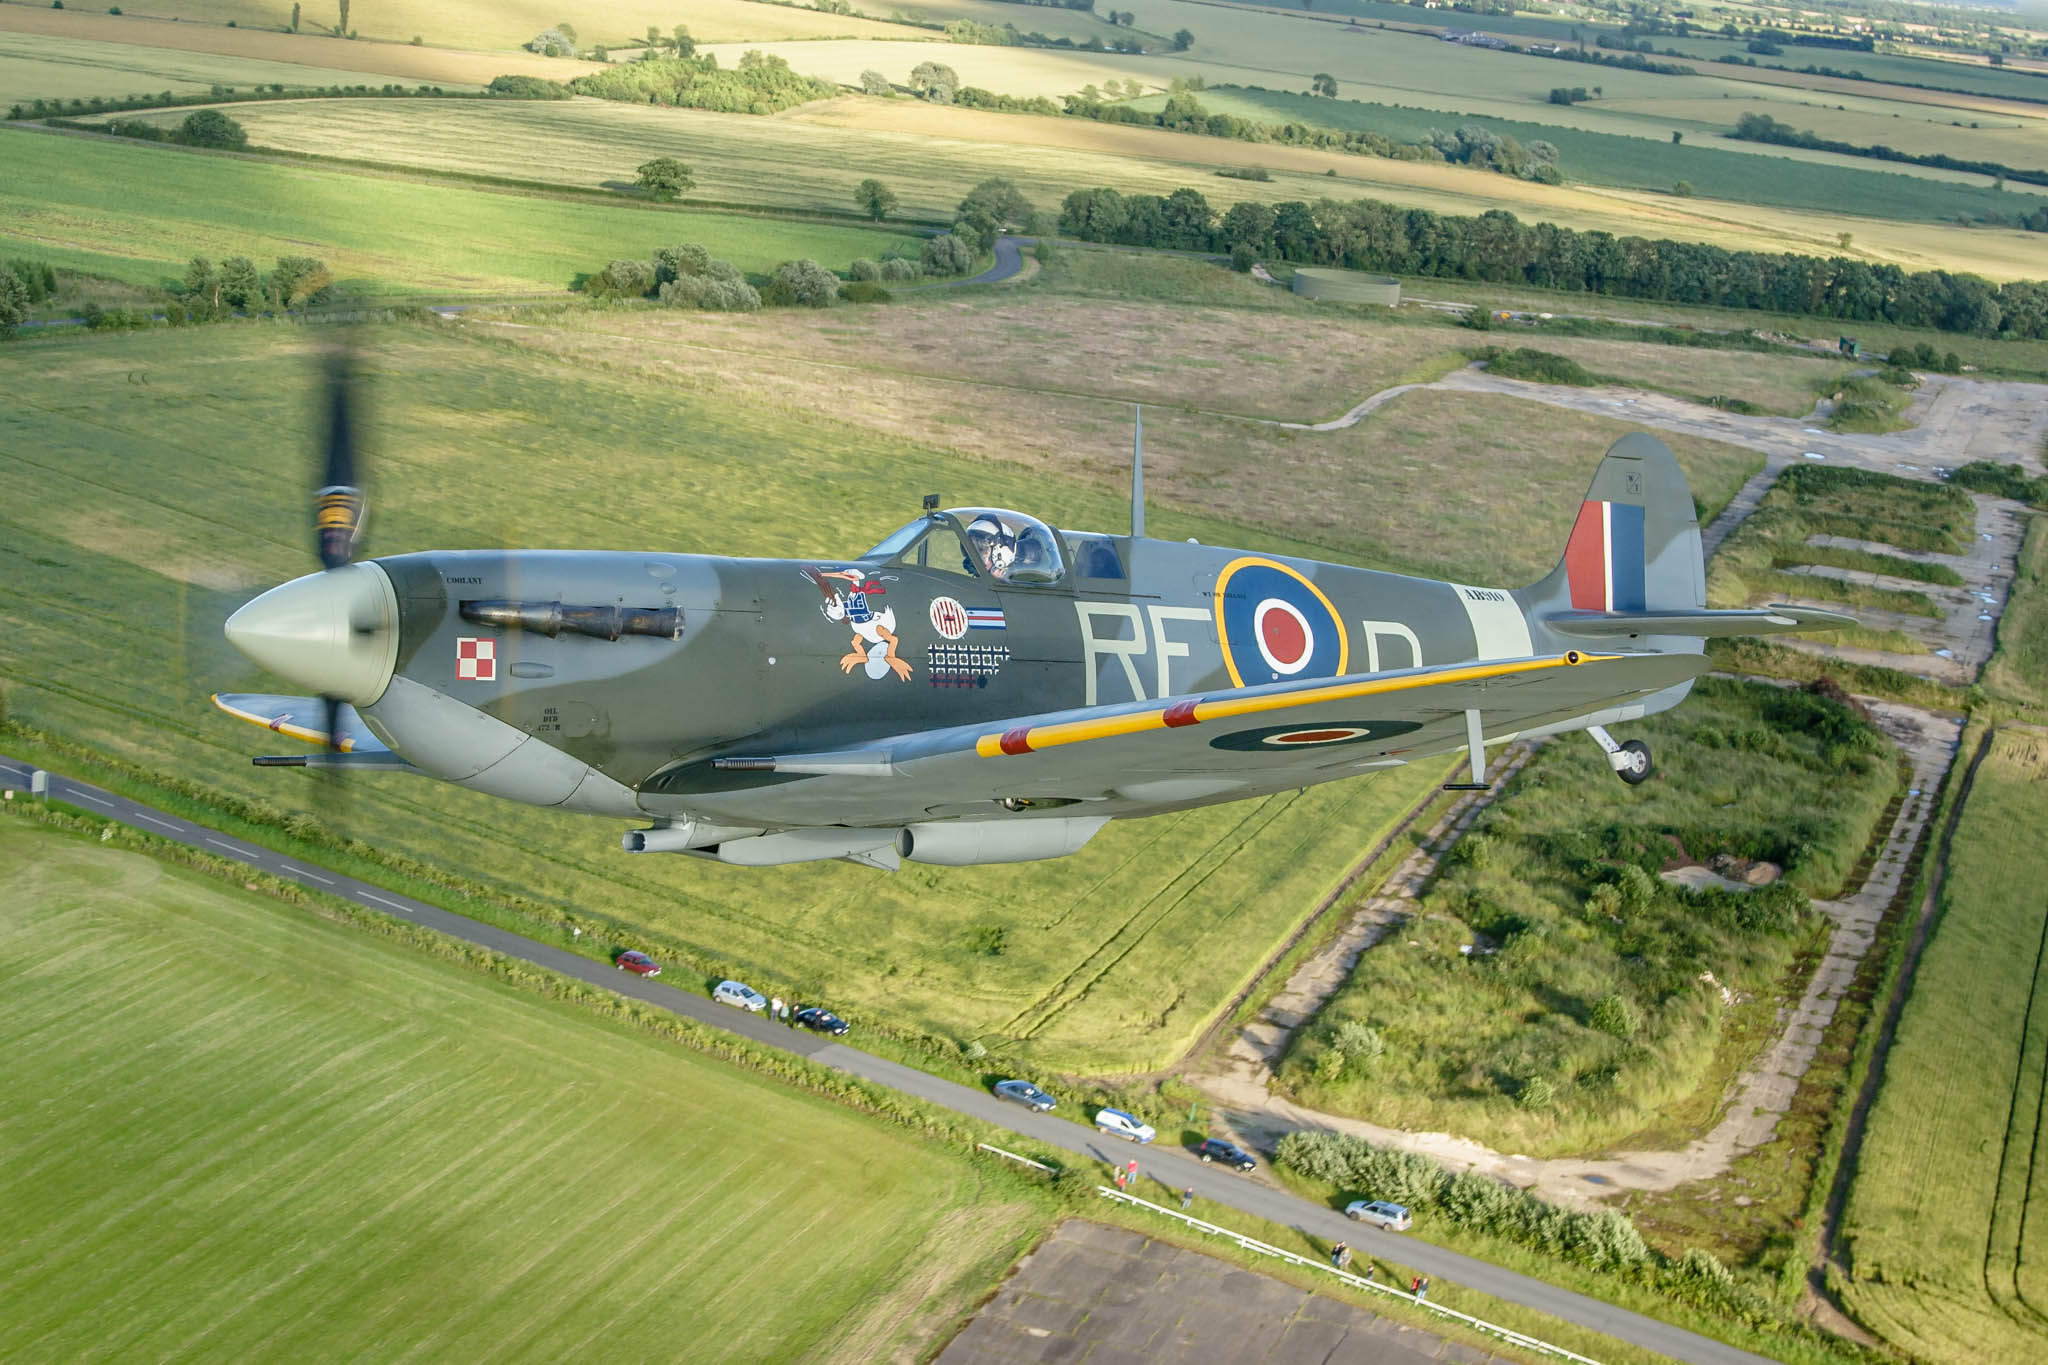
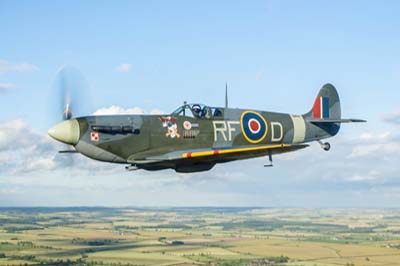
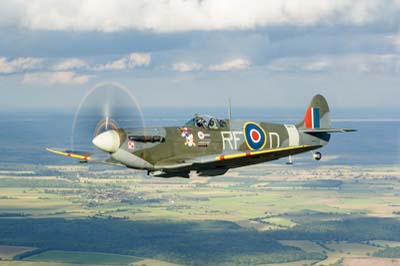
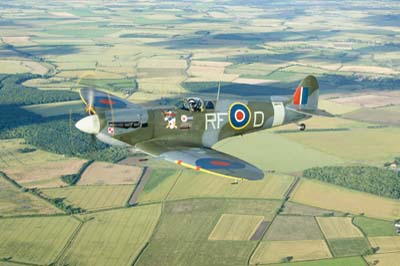
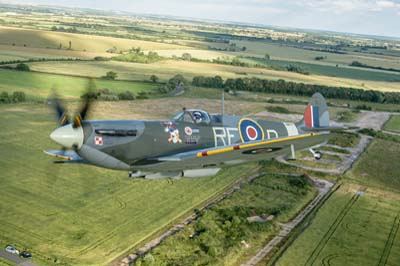
| Spitfire Vb (AB910 'RF-D') of the Battle of Britain Memorial Flight over Lincolnshire with Al Pinner at the controls. |
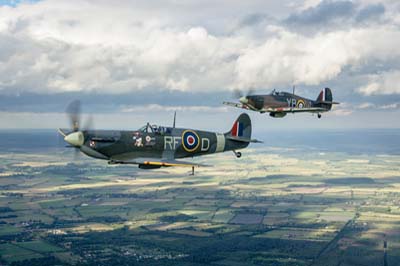
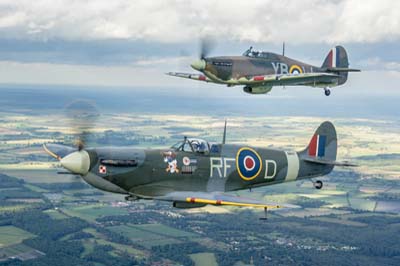
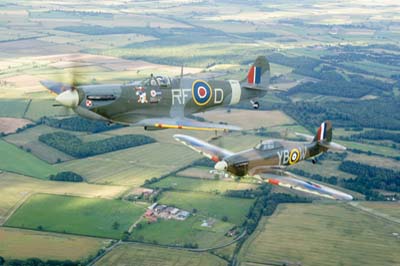
| Left to right: The Spitfire and Hurricane initially joined us on the starboard wing, before the Hurricane moved across to the other side and into the sun. |
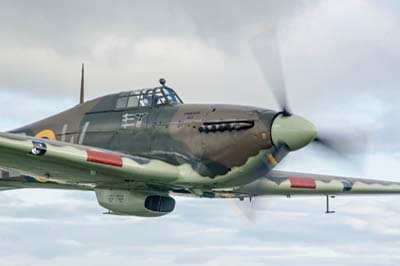
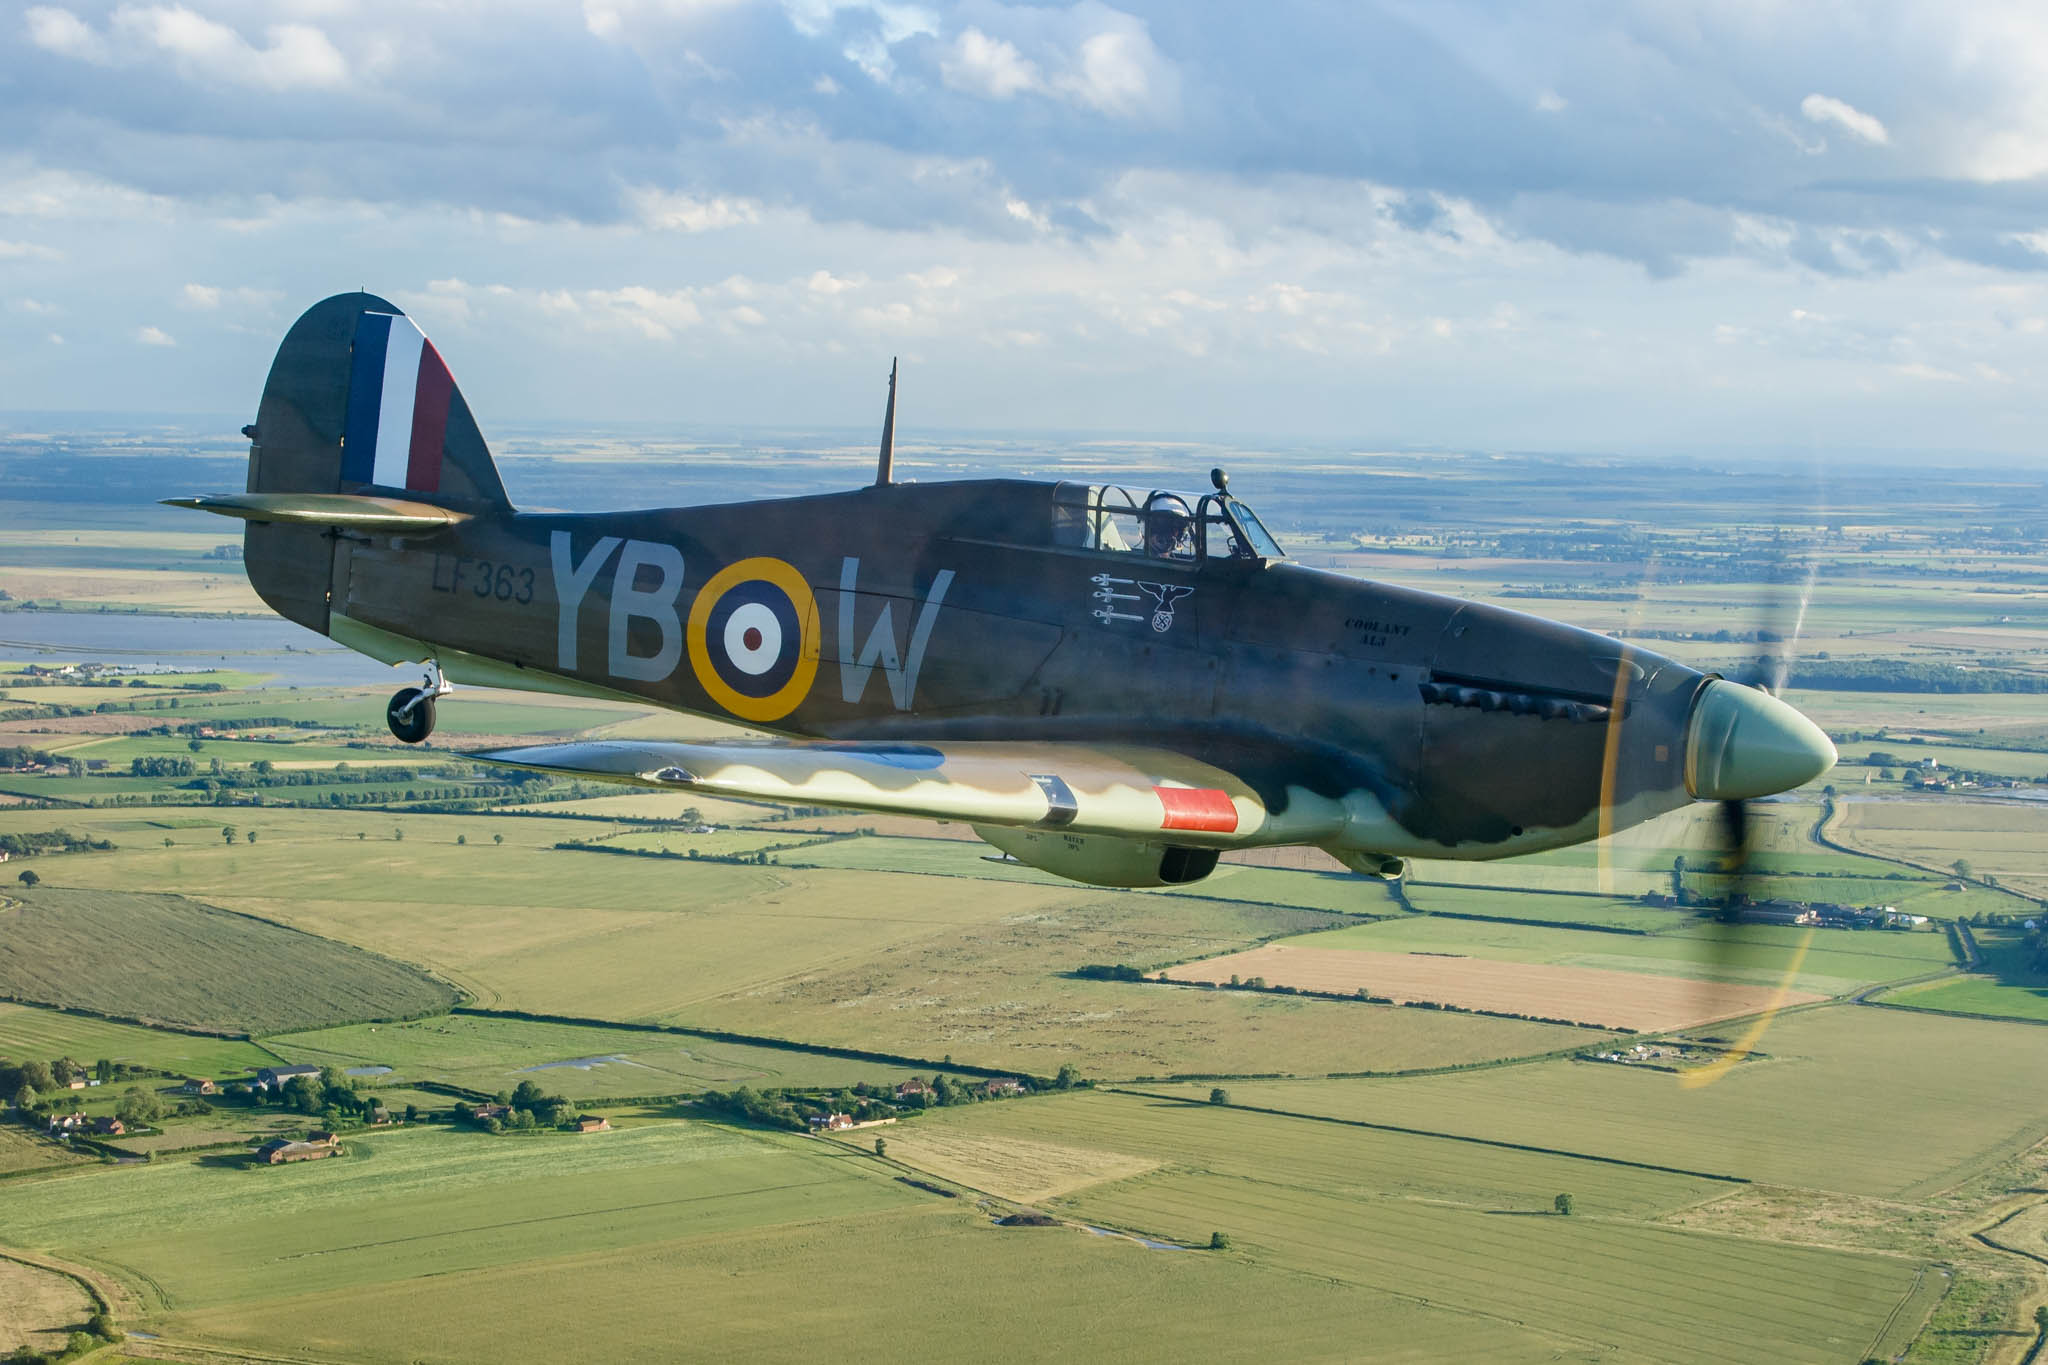
| Hurricane IIc (LF363 'YB-W') of BBMF on our port wing over Lincolnshire. |
| The Spitfire enroute to Wickenby. |
| The Spitfire enroute to Wickenby. |
| The Spitfire arriving at Wickenby. |
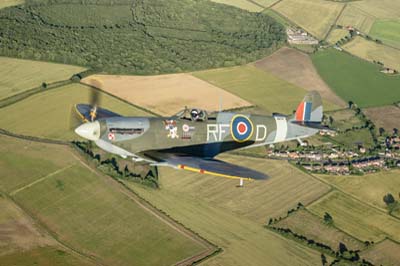
| 300 feet over Wickenby, the remains of the wartime runway can be seen on the right and the start of the existing runway in the bottom corner. |
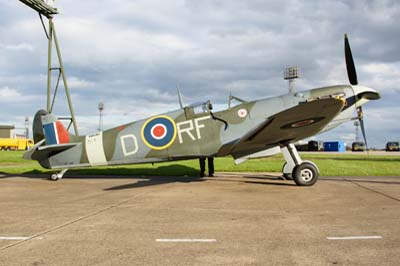
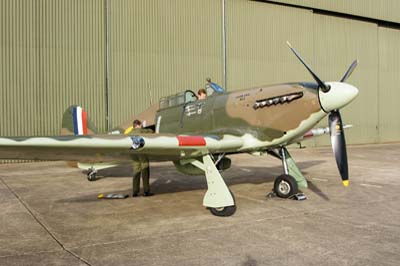
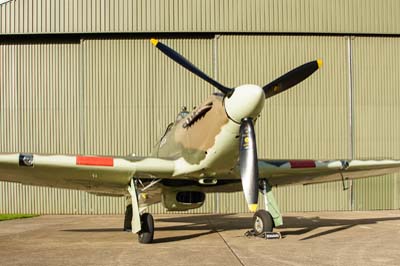
| Left to right: Outside the BBMF hangar Spitfire Vb (AB910 'RF-D') and Hurricane IIc (LF363 'YB-W') are getting ready for escort duties and the flight down to Bristol. Departing Coningsby, the BBMF hangar and Typhoon ramp deserted apart from a visiting Sentinal R.1. |
Photography note:
I was using a DSLR x1.6 sensor + Canon EF 24-105mm L IS lens. Conditions are never as you would like them. I was shooting through the perspex windows of Polly's Cherokee from the backseat, to allow shots from both sides of the aircraft. We were flying straight to Wickenby after joining up with the BBMF pair a few miles from Coningsby. As it was evening and the route roughly due north, the sun was constantly on the Spitfire on our starboard wing. If we had been able to make a few turns then things could have been more interesting, but as the escorting fighters had more important things to do, this was not possible. Prop' blur is important, to convey movement. So on looking up the Spitfire's rpm at cruising speed, I was able to calculate the ideal shutter speed for my camera. 1200 rpm x 4 propeller blades divided by 60 suggests a shutter speed of 1/80th second for a full 360 degree propeller blur. The problem now was could I keep the camera still and would the aircraft alongside us be steady enough in the bumpy conditions, to get a sharp image? The answer could only really be found out after reviewing the shots at the end of the photo shoot. I could not afford to take chances, so I decided to use a whole range of shutter speeds from 1/80th to 1/250th for insurance purposes. Afterwards I found I had blurred shots at all speeds, but most of the better shots were at 1/125th, which seemed at the time the best shutter speed to use. In the 6½ minute flight in formation I actually took 150 shots. |
| Left to right: Spitfire Vb (AB910 'RF-D') taken with various shutter speeds; 1/60th at f18 the image is a little soft, 1/80th at f10, 1/125th at f8 and for the flypast at 300 feet over Wickenby I went up to 1/250th at f4. |
